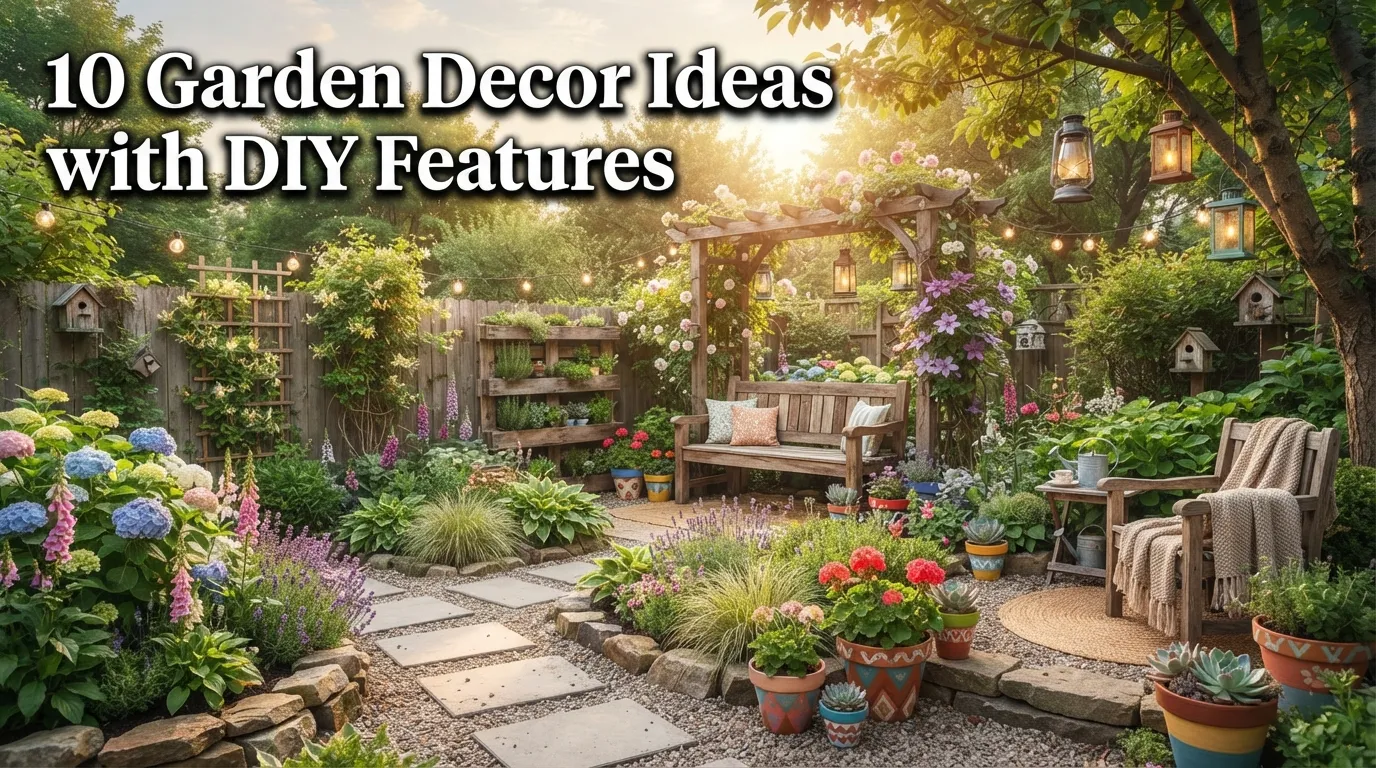
10 Garden Decor Ideas with DIY Features
A blank garden bed or an empty stretch of fence is one of the easiest places to feel stuck. You know you want the space to feel finished, but store-bought garden decor can get expensive fast, and a lot of it doesn’t feel personal once it’s actually sitting in your yard. That’s where DIY garden decor earns its keep. It costs less, it uses materials you may already have, and it tends to look more original than anything you’d find in a big-box garden aisle.
In my experience helping friends and family tackle backyard projects on a weekend budget, the gardens that feel most inviting are rarely the most expensive ones. They’re the ones with a little handmade character, a painted stone path, a trellis built from scrap wood, string lights strung with intention. One thing that works especially well is starting small. A mistake many homeowners make is trying to overhaul the entire yard at once, which usually stalls out before anything gets finished. A single weekend project, done well, does more for a garden’s personality than a dozen half-finished ideas.
This article walks through ten specific DIY garden decor ideas, from repurposed containers to vertical pallet gardens, with practical notes on materials, tools, and styling so you can actually build these, not just pin them. I’ve noticed that the projects people finish and love most are the ones with a clear plan, not the vague “add some plants” advice. Each idea below includes why it works, how to build and style it, and real-world tips for making it hold up outdoors.
Whether you’re working with a small patio, a full backyard, or a rental where permanent changes aren’t an option, there’s a project here that fits your space, your budget, and your weekend.
Table of Contents
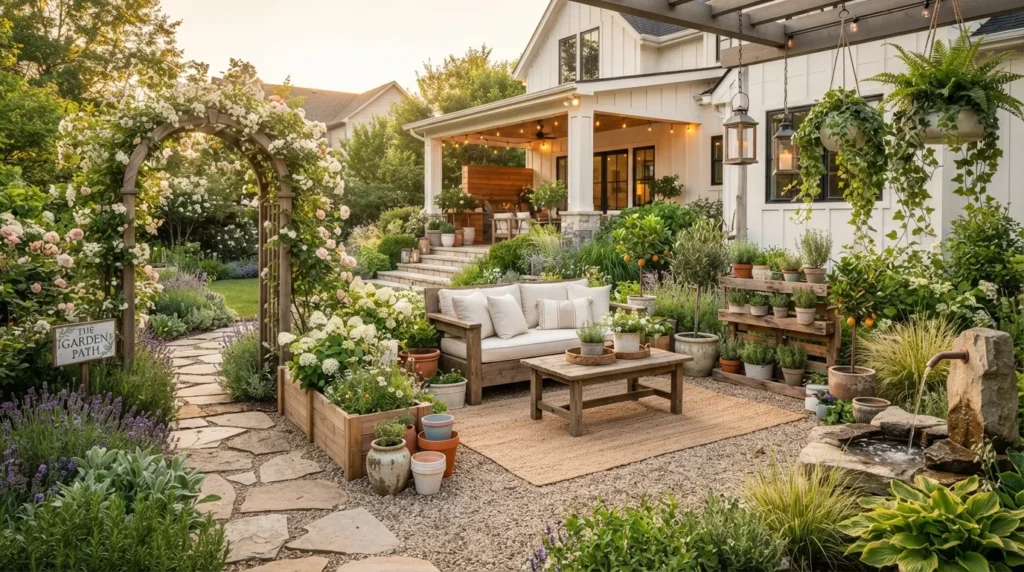
- Repurposed Container Planters — Turning old crates, buckets, and tins into standout planters.
- Painted Stone Pathway — Hand-painted stepping stones that add color and personality.
- DIY Trellis Archway — A simple wood-built entrance for climbing vines and flowers.
- Mason Jar Lighting — Warm, low-cost outdoor lighting made from recycled jars.
- Pallet Wood Planter Box — A raised planter built from reclaimed pallet wood.
- Hanging Herb Garden — A vertical, space-saving way to grow kitchen herbs.
- Stacked Stone Border — Defining garden beds with a simple hand-built stone edge.
- Upcycled Tire Planters — Painted tire planters for bold, budget-friendly color.
- Wind Chime Corner — A handmade sound and movement feature for a quiet garden nook.
- Vertical Pallet Garden — A full wall-style planter for small or narrow spaces.
1. Repurposed Container Planters
Quick Benefits
- Costs little to nothing if you use materials on hand
- Adds one-of-a-kind character no store-bought planter offers
- Works for herbs, flowers, or small vegetables
- Easy to move and rearrange as the garden changes
- Great beginner-friendly first DIY garden project
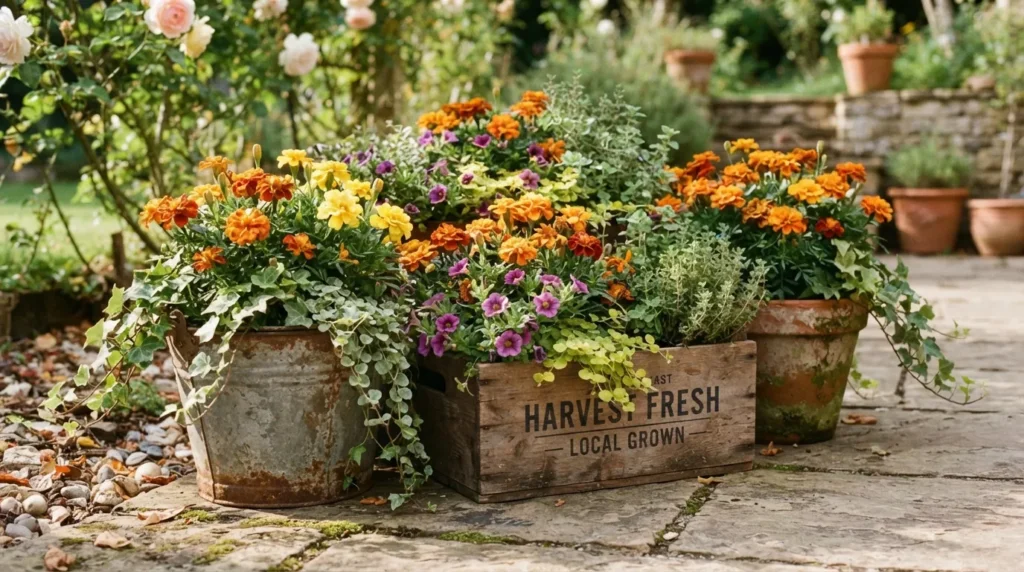
Why It Works Old crates, metal buckets, tin cans, and wooden boxes make some of the most interesting planters precisely because they weren’t designed to be planters. In my experience, this kind of repurposed decor gives a garden a sense of history and personality that new, matching planter sets rarely achieve. It also solves a real problem: buying enough decorative planters to fill out a garden bed can get expensive quickly, while repurposed containers are often free or nearly free. A mistake many homeowners make is assuming decor needs to be purchased new to look intentional, when mismatched, character-filled containers often look more curated than a matching set.
How To Style It Drill or punch drainage holes in the bottom of any container before planting, since standing water will rot roots quickly. Line the base with a layer of small rocks for drainage, then fill with quality potting soil suited to what you’re planting. Group three to five containers of varying heights and materials together rather than spacing them out individually, which creates a more intentional cluster. Mix textures, a galvanized bucket next to a wooden crate next to a terracotta pot, for visual variety. Seal any wood containers with an outdoor-rated sealant to extend their life against weather.
2. Painted Stone Pathway
Quick Benefits
- Adds color and personality to an otherwise plain walkway
- Inexpensive since it uses basic flat stones or pavers
- Simple enough for a weekend family project
- Durable when sealed properly for outdoor weather
- Easy to redo or refresh the design each season
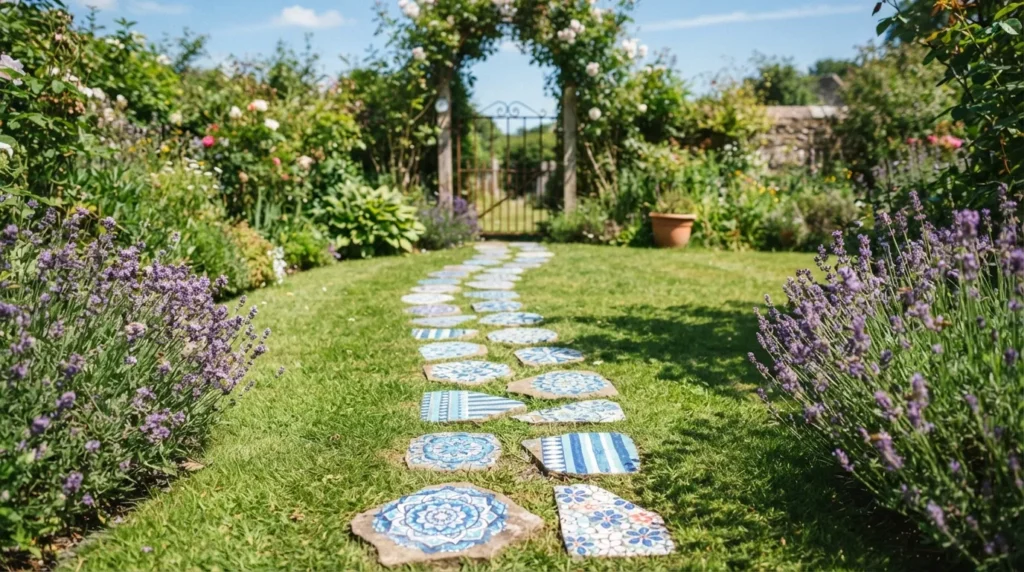
Why It Works A plain gravel or dirt path does its job, but it rarely adds anything to the garden’s overall feel. Painting flat stepping stones is one of the simplest ways to bring color, pattern, or even a bit of whimsy into a garden without touching the plants themselves. I’ve seen this idea transform a plain backyard path into one of the most photographed corners of the whole garden, especially when kids or grandkids get involved in the painting. It’s a project that adds visual interest at ground level, which most garden decor ignores entirely in favor of taller features.
How To Style It Start with flat, smooth stepping stones or concrete pavers, cleaned and fully dried before painting. Use outdoor-rated acrylic paint, and apply a clear weatherproof sealant once the design is finished to protect it from rain and foot traffic. Simple geometric patterns, mandalas, or single bold colors tend to hold up visually better over time than intricate designs, which fade less noticeably. Space the stones along a garden path with consistent gaps, and consider adding low-growing ground cover like creeping thyme between them for a softer, more finished look.
3. DIY Trellis Archway
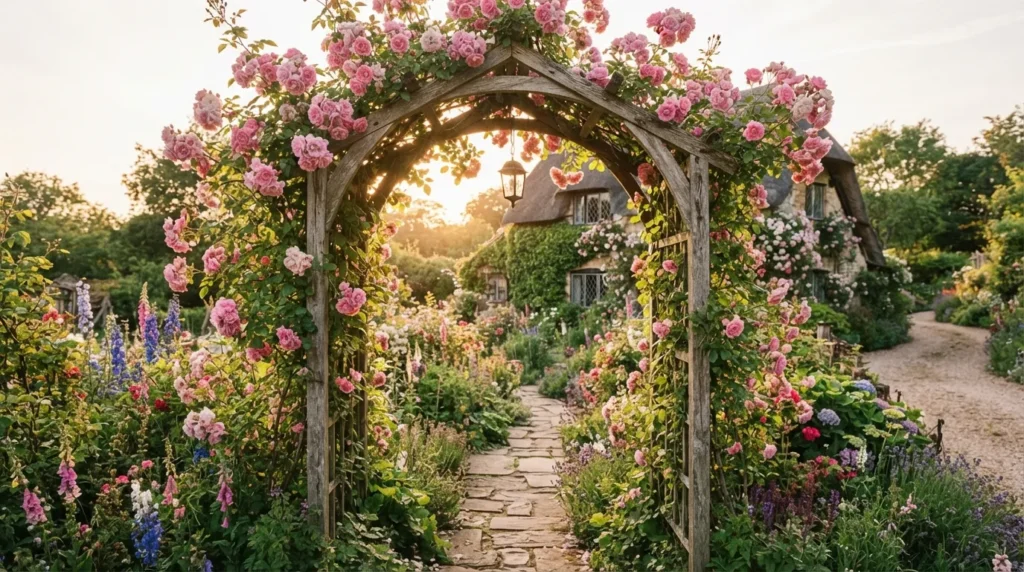
Quick Benefits
- Creates a natural entrance point for a garden or yard
- Supports climbing plants like roses, clematis, or beans
- Adds height and structure to a flat garden layout
- Can be built from inexpensive wood or reclaimed materials
- Doubles as a focal point for photos and gatherings
Why It Works Most gardens are decorated at eye level or lower, which leaves a lot of vertical space unused. A trellis archway solves that by giving the garden a structural focal point that draws the eye upward, while also giving climbing plants somewhere to grow. That’s why many designers recommend an archway near a garden entrance specifically, since it frames the space and signals a transition from yard to garden. Over a season or two, as vines fill in, the archway becomes one of the most visually rewarding projects in the whole space.
How To Style It Build a simple frame using cedar or pressure-treated 2x4s, since both hold up well outdoors without heavy maintenance. A basic archway is typically two vertical posts, roughly 7 feet tall, connected by a curved or flat top piece, with horizontal or diagonal slats for climbing support. Anchor the posts in concrete or deep ground stakes for stability, especially in windy areas. Plant fast-growing climbers like clematis, morning glory, or climbing roses at the base of each post, and train the vines along the slats as they grow. Paint or stain the wood to match your garden’s existing color palette for a cohesive look.
4. Mason Jar Lighting
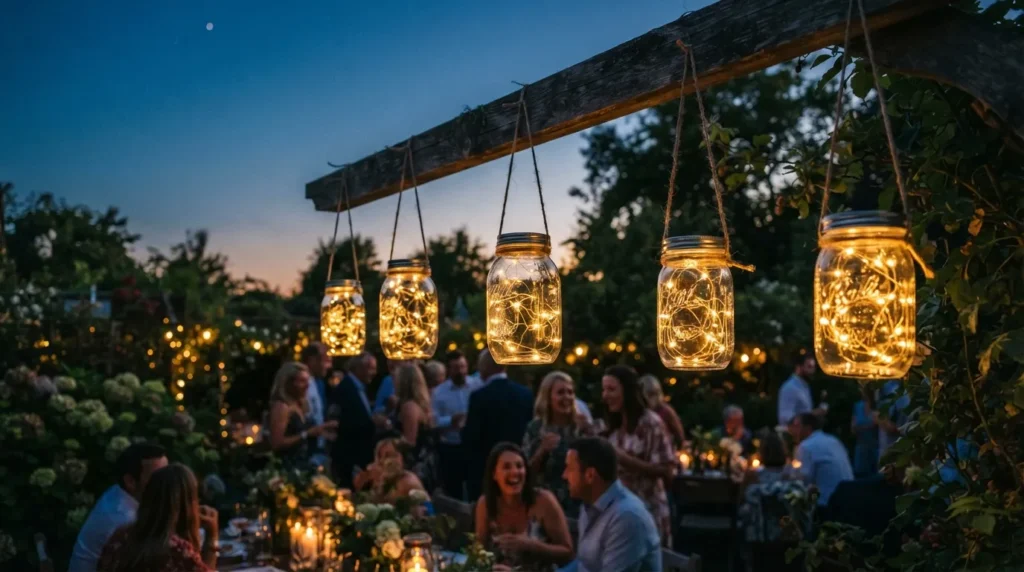
Quick Benefits
- Adds warm ambient light for evening garden use
- Inexpensive compared to store-bought outdoor lighting fixtures
- Simple to make with basic mason jars and string lights
- Works well hung from trees, fences, or a pergola
- Easy to take down and store during off-seasons
Why It Works Lighting does more for a garden’s evening atmosphere than almost any other decor element, and mason jar lighting is one of the most budget-friendly ways to achieve it. One simple trick I always suggest is layering a few different light sources, string lights, a lantern, a candle jar, rather than relying on one type alone. Mason jars specifically give off a soft, diffused glow that feels warmer and less harsh than exposed bulbs, which makes the garden feel more like an extension of the home in the evening rather than just an outdoor space.
How To Style It Use wide-mouth mason jars and either battery-operated fairy lights or a short string of outdoor-rated LED lights threaded inside. Secure the lid with a small hole drilled through the center for the light strand to pass through, or use a two-piece lid with the light resting just inside the rim. Hang jars from a pergola beam, tree branch, or fence line using wire or rope handles, spacing them 12 to 18 inches apart for even light distribution. For a grounded look, line a few jars along a path or patio edge instead of hanging them. Choose battery or solar-powered lights to avoid running extension cords across the yard.
5. Pallet Wood Planter Box
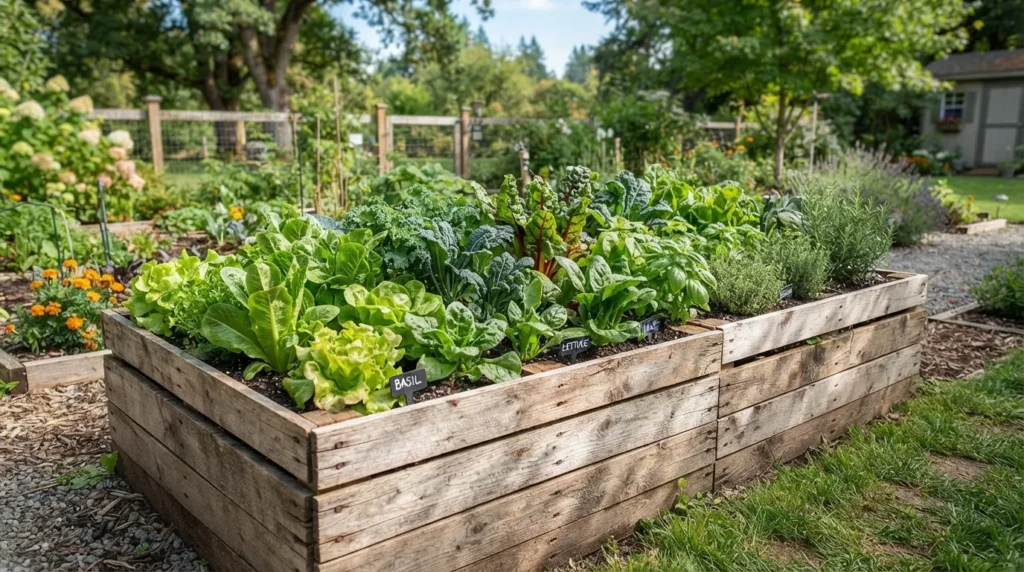
Quick Benefits
- Uses reclaimed wood, keeping the project low-cost
- Raises plants off the ground for easier maintenance
- Adds rustic texture that pairs well with most garden styles
- Customizable size depending on available pallet wood
- Great for vegetables, herbs, or flowering plants
Why It Works Raised planter boxes solve a practical gardening problem, better drainage, easier weeding, and protection from ground pests, while also adding visual structure to a garden. Building one from pallet wood keeps the cost low and gives the finished piece a warm, textured look that new lumber doesn’t have. If you’re anything like me, you’ve picked up a free pallet at some point without a clear plan for it. A planter box is one of the most satisfying ways to put that reclaimed wood to use, turning a discarded shipping material into a functional, good-looking garden feature.
How To Style It Disassemble the pallet carefully, then rebuild the slats into a box shape, typically 2 feet wide by 4 feet long by 12 inches deep, though dimensions can flex based on available wood. Line the interior with landscape fabric to prevent soil from spilling through gaps and to slow wood rot. Seal the exterior with an outdoor wood stain or sealant to extend its lifespan against weather exposure. Fill with a quality raised-bed soil mix, and plant in rows or blocks depending on what you’re growing. Position the box in a spot with appropriate sunlight for your plants, and consider adding short legs or bricks underneath for airflow and drainage.
6. Hanging Herb Garden
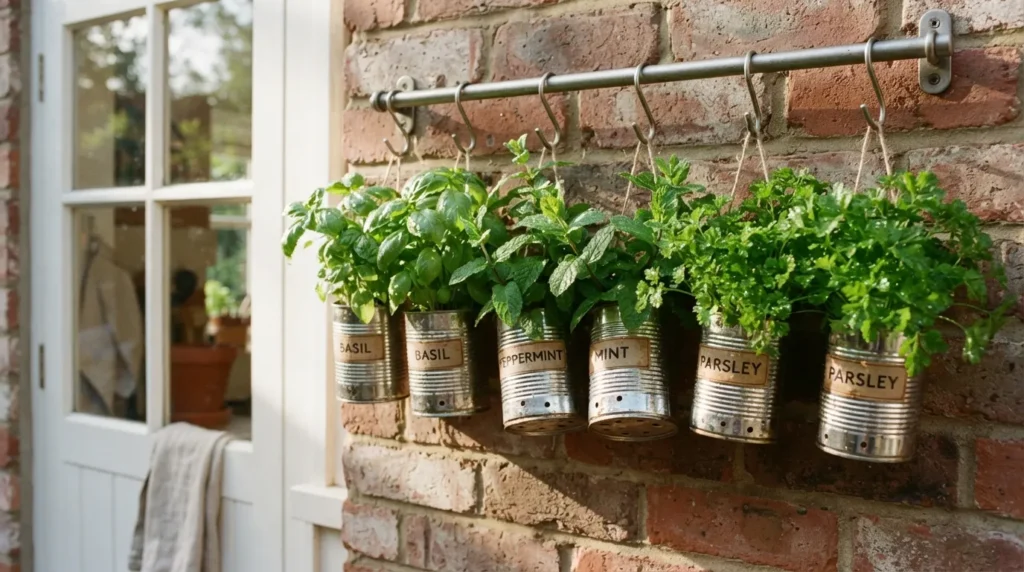
Quick Benefits
- Saves ground space in small yards or patios
- Keeps herbs within easy reach of the kitchen door
- Adds greenery at eye level rather than only at ground level
- Simple to build using basic hooks and containers
- Encourages more consistent use of fresh herbs
Why It Works A hanging herb garden solves the common problem of wanting fresh herbs without dedicating a full garden bed to them. I’ve noticed that herbs planted at ground level, tucked into a larger garden, often get forgotten or overgrown by neighboring plants. Hanging them at eye level near a kitchen door or patio keeps them visible, which in turn means they actually get used in cooking rather than growing wild and unused. It’s a small project with a genuinely practical daily payoff.
How To Style It Mount a horizontal board or use an existing fence or railing as an anchor point, then attach a row of hooks spaced 6 to 8 inches apart. Hang small pots or repurposed tin cans with drilled drainage holes and wire handles from each hook. Choose herbs suited to your climate and sunlight, basil and mint for sunnier spots, parsley and cilantro for partial shade. Keep the pot sizes small and lightweight to avoid strain on the mounting hardware, and check hooks periodically for wear since outdoor conditions can weaken hardware over time. Water slightly more often than ground-planted herbs, since hanging containers dry out faster.
7. Stacked Stone Border
Quick Benefits
- Defines garden beds without the cost of a full retaining wall
- Adds texture and structure using natural, low-cost materials
- Helps contain soil and mulch within planting areas
- Works with nearly any garden style, from cottage to modern
- Long-lasting with minimal maintenance once installed
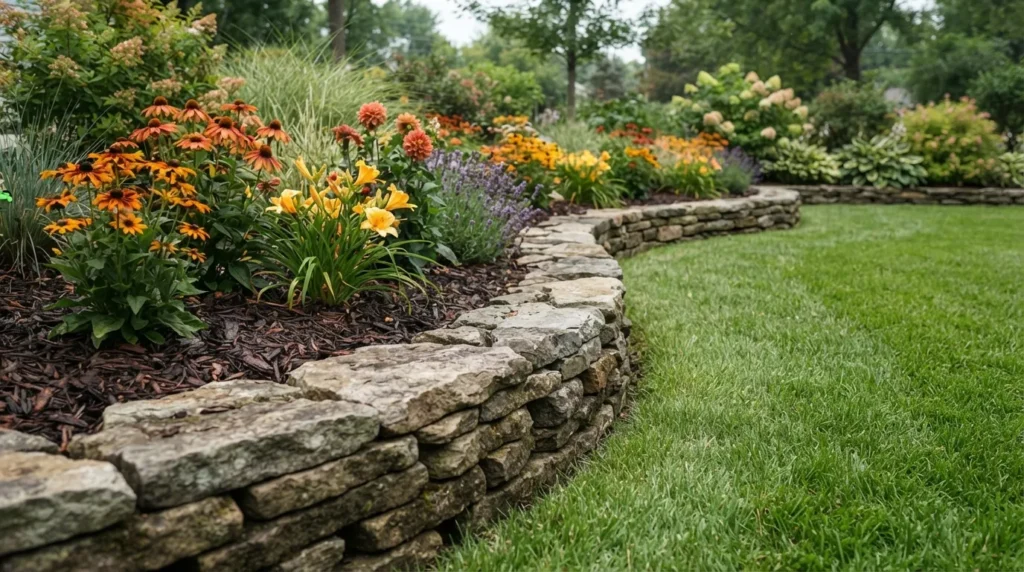
Why It Works A garden bed without a defined edge tends to look unfinished no matter how well the plants inside it are growing. A stacked stone border solves that by creating a clear, physical boundary between garden and lawn or path. In my experience, this is one of the highest-impact, lowest-effort upgrades a garden can get, since it makes even a modest planting look intentional and well-maintained. The natural stone also adds a layer of texture that softer materials like plastic edging can’t replicate.
How To Style It Dig a shallow trench, roughly 2 to 3 inches deep, along the border of the garden bed to set the first layer of stones level. Use flat-sided fieldstone or landscaping stone, stacking two to three rows depending on desired height, and fit pieces together like a puzzle for stability without mortar for a casual look. For a more permanent structure, use masonry adhesive between layers. Curve the border slightly rather than keeping it perfectly straight for a softer, more natural garden shape. Backfill behind the stones with soil or mulch to secure them in place and prevent shifting over time.
8. Upcycled Tire Planters
Quick Benefits
- Repurposes materials that would otherwise go to waste
- Extremely low-cost, often free if you have old tires on hand
- Adds bold color and a playful visual element
- Sturdy and weather-resistant once painted and prepped
- Good for larger plants that need more root space
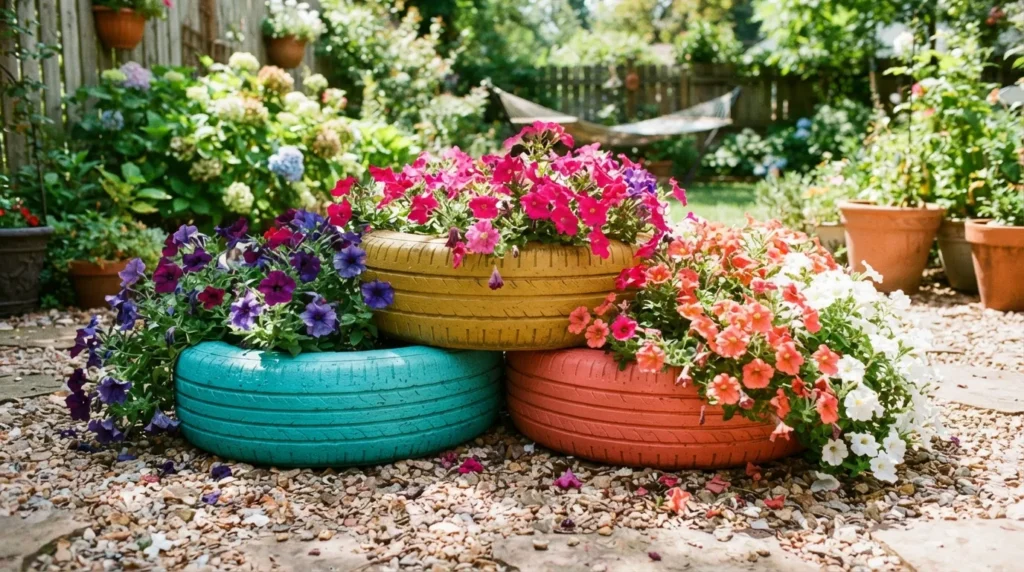
Why It Works Old tires are durable, weather-resistant, and free if you already have them sitting around, which makes them one of the most practical materials for a large, low-cost planter. One thing that works especially well is using tires for bold color statements, since the round shape and thick rubber surface hold paint well and create a graphic, eye-catching look in the garden. A mistake many homeowners make is overlooking materials like this simply because they don’t look decorative in their raw state, when a coat of paint and the right plant fill can completely change how a material reads.
How To Style It Clean the tire thoroughly and sand the surface lightly so paint adheres properly. Use exterior-rated spray paint or outdoor paint in a bold color, applying two to three coats for even, lasting coverage. Drill several drainage holes through the bottom of the tire before adding soil. Stack two tires for extra planting depth if growing root vegetables or larger plants, securing them together with exterior adhesive or bolts. Position tire planters in clusters of two or three different colors for the most visual impact, and fill with trailing or upright flowers depending on the look you want.
9. Wind Chime Corner
Quick Benefits
- Adds sound and movement to an otherwise quiet garden
- Simple to make from recycled metal, glass, or wood pieces
- Creates a peaceful focal point for a seating area
- Inexpensive compared to store-bought decorative chimes
- Personal and easy to customize with meaningful materials
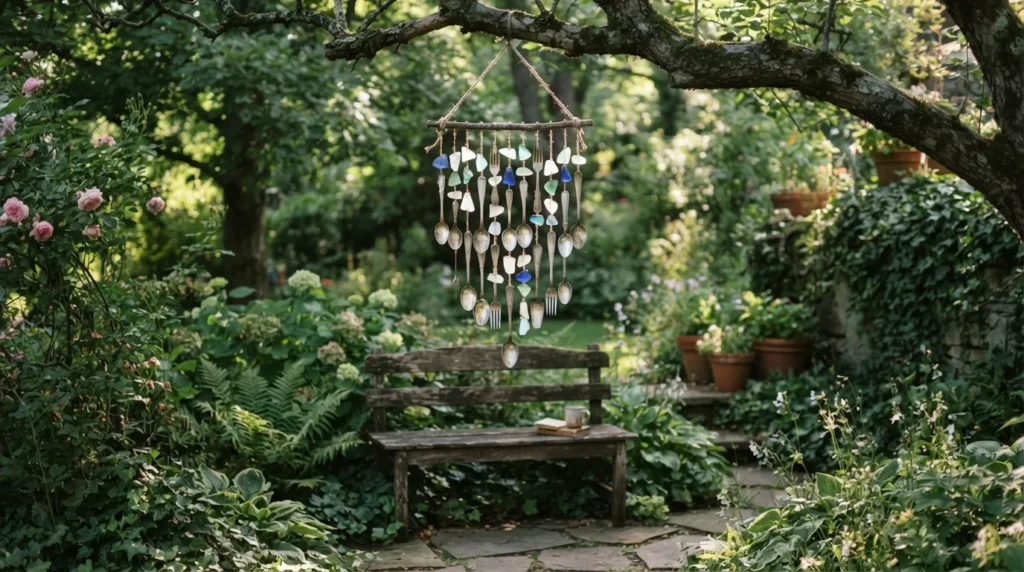
Why It Works Most garden decor is purely visual, but a wind chime corner adds an entirely different sensory layer through sound and movement. That’s why many designers recommend incorporating at least one sound or motion element into an outdoor space, since it makes the garden feel more alive and less like a static display. A handmade wind chime, built from old keys, sea glass, or scrap metal, also tends to carry more personal meaning than anything purchased, especially if the materials came from a specific place or memory.
How To Style It Gather lightweight materials that will move easily in the wind: old spoons, washers, sea glass, or small wood pieces work well. Drill a small hole through each piece and thread them onto fishing line or thin wire at varying lengths, attaching the lines to a wooden ring, driftwood piece, or metal hoop as the base. Hang the finished chime from a tree branch, pergola beam, or shepherd’s hook in a spot that gets consistent breeze. Pair the wind chime with a small bench or seating area nearby so the corner becomes a spot people actually pause in, not just walk past.
10. Vertical Pallet Garden
Quick Benefits
- Maximizes planting space in small yards or patios
- Turns a single reclaimed pallet into a full garden feature
- Works well for herbs, succulents, or shallow-rooted flowers
- Adds a striking, textured wall-style focal point
- Portable if built to lean rather than mount permanently
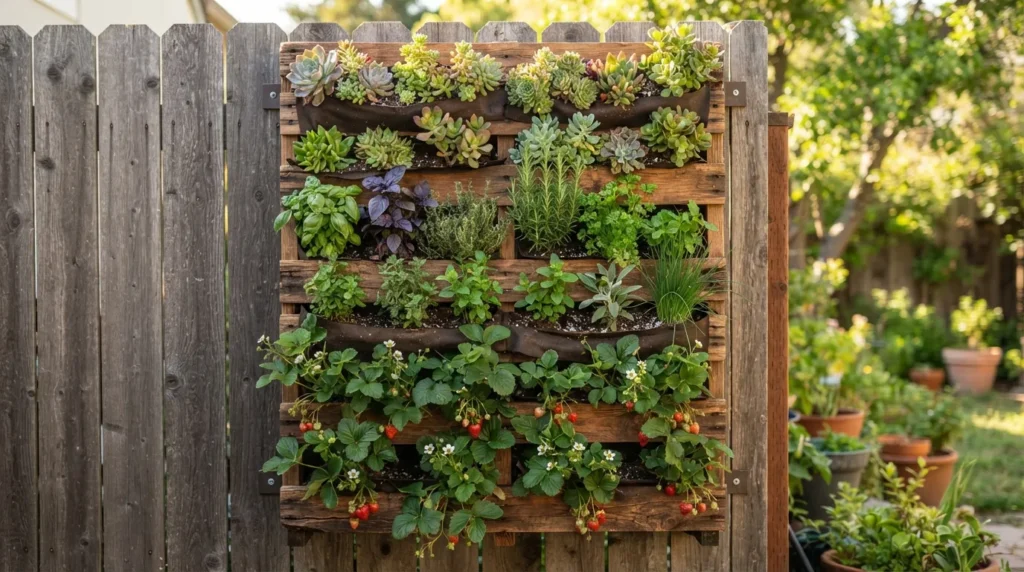
Why It Works For anyone working with a small patio or limited yard space, a vertical pallet garden solves the fundamental problem of not having enough ground area to plant everything you want. I’ve seen this idea transform a bare fence or blank wall into the most productive and visually interesting part of a small garden. Because it’s built from a single pallet, the project stays low-cost while still delivering a large, full look once it’s planted out and the fabric pockets or slats fill in with greenery.
How To Style It Sand the pallet to remove splinters, then staple heavy-duty landscape fabric across the back and sides to create planting pockets between the slats. Fill each pocket with potting soil and plant shallow-rooted options like succulents, herbs, or strawberries, which don’t require deep root space. Lean the pallet against a fence or sturdy wall at a slight angle for the first two to three weeks, laid flat, so roots can establish before standing it upright. Once secure, mount it vertically using strong brackets into wall studs or fence posts. Water more frequently than a standard garden bed, since vertical pallet gardens dry out faster due to increased sun and air exposure.
Common Questions About DIY Garden Decor
What DIY garden decor lasts longest outdoors? Stone and metal-based projects, like stacked stone borders or metal wind chimes, tend to last the longest with minimal upkeep. Wood projects like trellises and planter boxes last well too, but need a fresh coat of sealant every year or two to prevent weather damage and rot.
Do I need special tools for these garden projects? Most of these projects only require basic tools: a drill, a saw for wood-based builds, outdoor paint or sealant, and simple hardware like hooks, wire, or brackets. None require advanced woodworking or construction skills, which makes them accessible for most skill levels.
Related Articles
- Small Patio Garden Ideas
- Backyard Fire Pit Setups
- DIY Raised Garden Beds
- Budget Backyard Makeover Ideas
- Outdoor String Light Ideas
Frequently Asked Questions
What is the cheapest DIY garden decor idea to start with? Repurposed container planters are typically the least expensive option, since they use materials you likely already have on hand, like buckets, crates, or tin cans. All you need to add is soil, plants, and a few drainage holes, making it an ideal starting project for a limited budget.
How do I make DIY garden decor weatherproof? Seal wood projects with an outdoor-rated sealant or stain, use exterior paint on any painted surfaces, and choose hardware labeled for outdoor use, like galvanized or stainless steel. Reapply sealant annually, and bring lightweight or battery-powered decor indoors during harsh winter months if possible.
Can I build these garden projects if I’m a total beginner? Yes, most of the ideas here, like painted stone pathways, mason jar lighting, and repurposed planters, require no prior building experience. Projects like the trellis archway or pallet planter box involve basic tools, but simple online tutorials and pre-cut lumber can make even those approachable for a first-time builder.
Where can I find free or low-cost materials for DIY garden projects? Pallets are often available free from local businesses, hardware stores, or online marketplaces if you ask directly. Stones, jars, and containers can often be sourced secondhand, and community groups or local buy-nothing pages are a great source for materials others are looking to get rid of.
How long do DIY garden projects typically take to build? Smaller projects like mason jar lighting or painted stones can be finished in an afternoon. Larger builds like a trellis archway, planter box, or vertical pallet garden usually take a full weekend, including drying or curing time for paint, stain, or adhesive.
Do DIY garden features need much maintenance? Maintenance is generally low but not zero. Wood features benefit from a yearly seal or stain refresh, painted items may need occasional touch-ups after harsh weather, and hanging or vertical projects should be checked periodically to make sure hardware hasn’t loosened over time.
What’s the best DIY garden project for small spaces? Vertical pallet gardens and hanging herb gardens are both excellent for small patios or yards, since they use wall or air space instead of ground space. Both allow you to grow a meaningful amount of plants without sacrificing the limited floor area a small garden typically has.
Final Thoughts
DIY garden decor works because it gives a space personality that store-bought pieces rarely can, and it does it without requiring a big budget or advanced skills. Start with one project, whether that’s a simple set of painted stepping stones or a weekend build like a pallet planter box, and let the garden grow from there as you find what you enjoy building and maintaining.
The most successful garden projects tend to be the ones that fit naturally into how you already use the space, so pick the idea that solves a real need in your yard first. Once that first project is finished, you’ll likely find yourself looking at the rest of the garden with new ideas for what could come next.